
Ducati 999 Xerox Fitting Guide
Welcome to one of our "how to fit decals like a pro" pages. This kit is among the most difficult race kits to fit and we only recommend you try it if you are extremely experienced at fitting large decals to motorcycles. Please call us before you order if you are unsure, or if you want to ask about our fitting service, it only takes a few hours and you can ride away on the completed work of art the same day. We will even supply the tea while you wait (although we might ask you to make a round)
Before you start reading this guide, it's well worth reading our generic fitting guide first
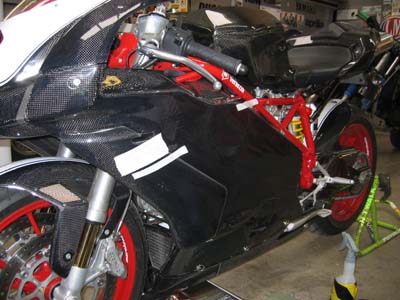
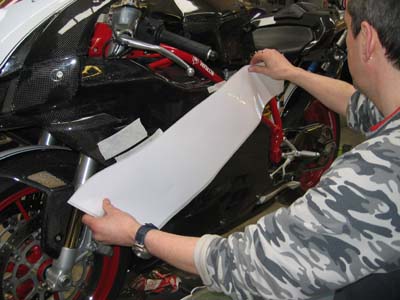
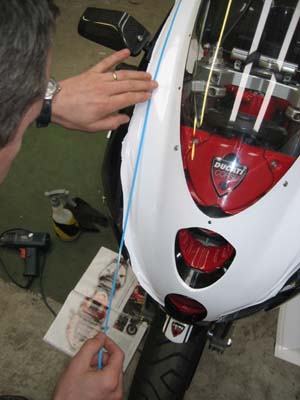
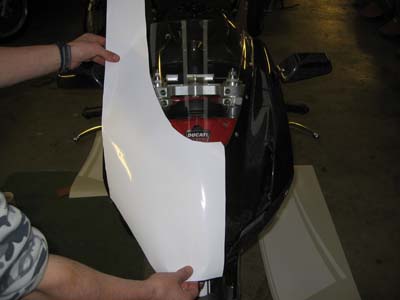 Start by cutting a piece of the white vinyl to approximately the correct size and shape |
Fit the vinyl using a plastic squeegee (A filler spreader is ideal) for the more curved areas GENTLY apply a little heat to make the vinyl more conformable. |
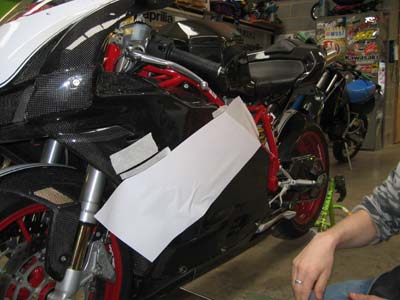
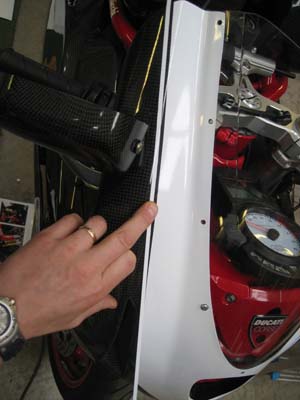
Repeat steps 1 & 2 for the opposite side and your fairing should now look something like this |
|
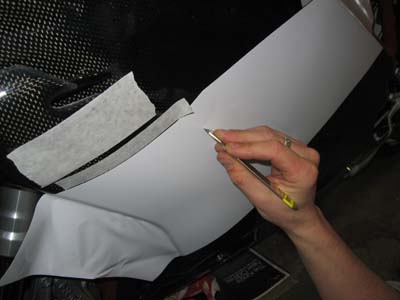
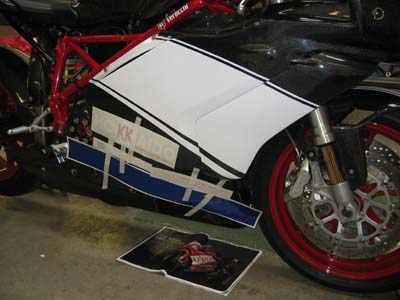
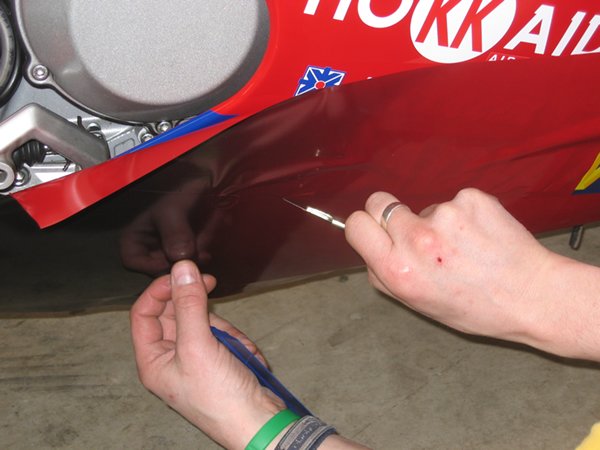
Using fine-line tape mark out the shape of the front number panel, remember to leave space for the white pin stripe to be added later |
 Using a VERY sharp knife lightly score the vinyl. DO NOT CUT INTO THE PAINT and remove the excess |
Allowing for a gap the same width as the tape, run the white pin stripe around the panel. |
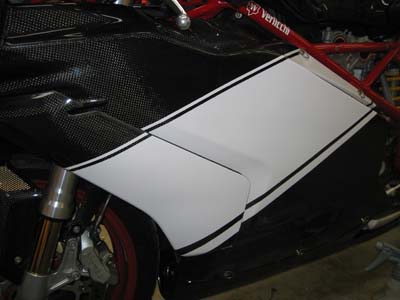
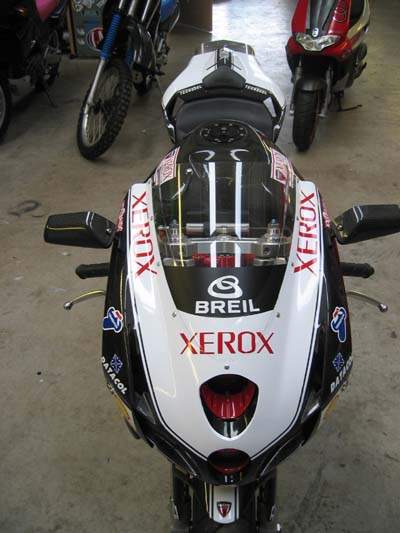
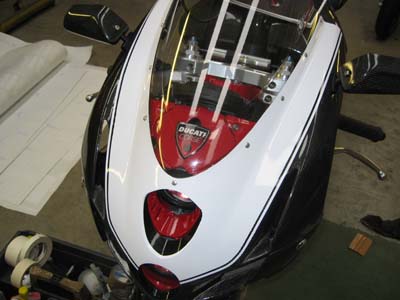 Your top fairing should now look like this! |
 The rear number panels are fitted in exactly the same way as the front |
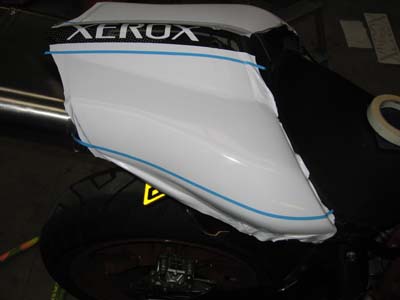
 Mark out the height for the side stripes, if your bike has the original 999 decals still on it, you will have to work around these (like this) as they are not removable
|
 Carefully lay the main stripe onto the panel, using your guides, and ignoring the air deflector, just go straight over it
|
 Once you are happy with the position you can squeegee the stripe onto the panel
|
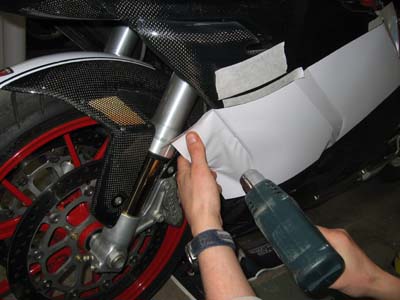 VERY GENTLE APPLICATION of heat may be needed to curve the stripe around the front edge of the panel
|
 Carefully slit along the edge of the air deflector and squeegee the decal down.
|
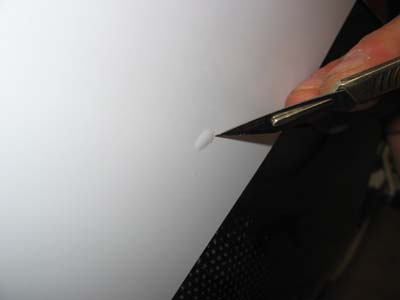 Hey! even the best fitters in the world get the odd bubble! The trick is in knowing how to remove them. Using a NEW BLADE make a TINY cut beside the bubble NOT in the bubble itself
|
 Using a squeegee (or the back of your fingernail) push the bubble towards the cut. It will vanish completely.
|
 Apply the side stripes as above
|
 Dry fit the remaining decals to ensure they will all fit and are spaced correctly. Once you are happy that it will all fit, apply as normal. As this bike was to maintain it's carbon bellypan it did not need the red faded section. To see how to fit this bit see below.
|
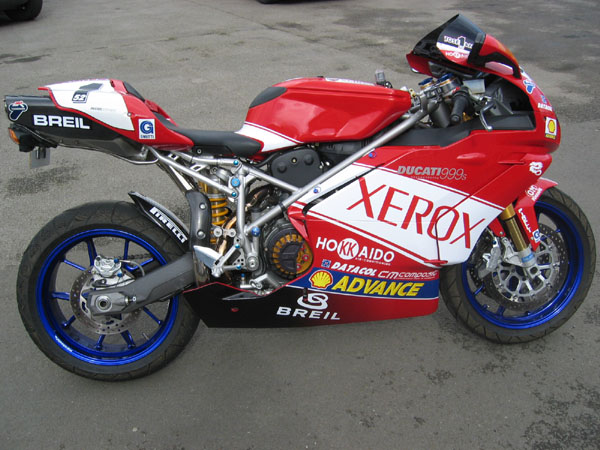
 Clean up your work space ! |
 And stand back and admire your handy work! |
 |
As we have said, this kit is not easy to fit (we rate it 10 out of 10 on the difficulty scale) especially if you are a novice. If you are unsure about anything ring us BEFORE you start fitting, if it all looks a bit daunting, ask about our fitting service, it's not expensive and is much cheaper than replacing a load of ruined decals. |
 |
Make sure your work area is as dust free as
possible, as when removing the backing from a large sheet of vinyl
generates a lot of static, and it will "suck up" all the fluff and dust
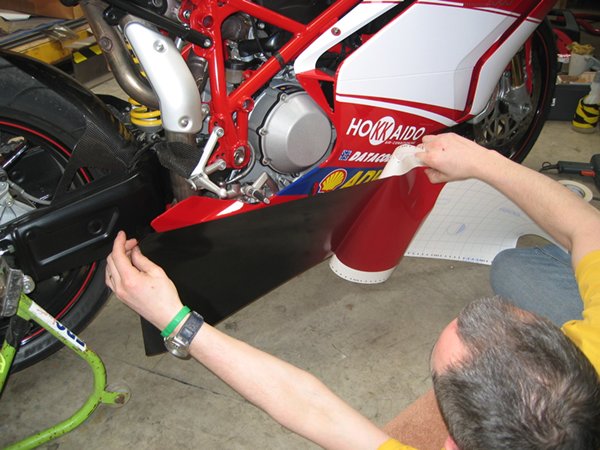
from the area as if you've just opened a black hole! Peel off about half the backing paper and offer the vinyl up to the belly pan, making sure you will have enough to cover all the bellypan, with no gaps. |
 |
Apply the vinyl to the end of the panel with your thumb, again checking you are lined up correctly to ensure no gaps at the top edge, if you get half way along and discover you were out of line, it's too late and you'll be giving us a call asking for another bit! |
 |
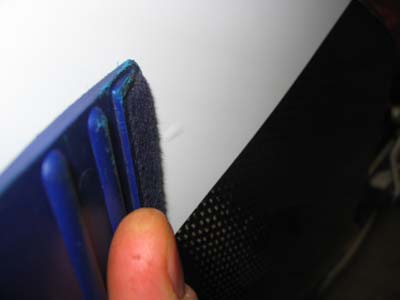
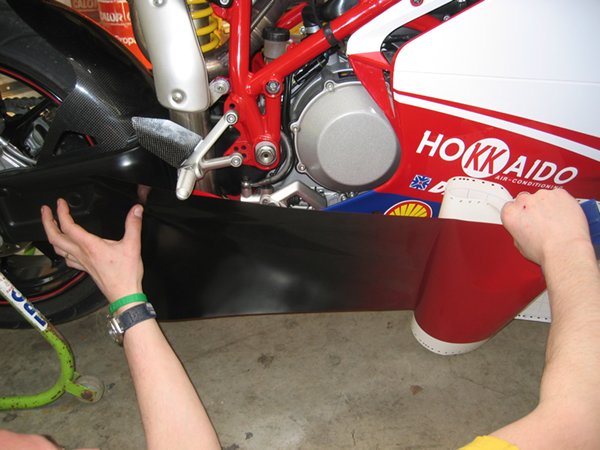
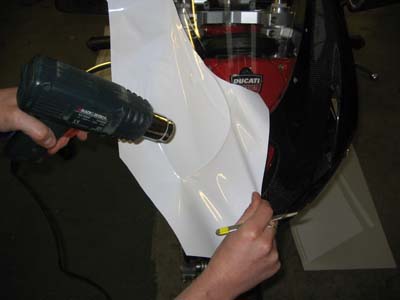
Work your way along the flat section of the panel with a soft squeegee (a 3m blue with a bit of soft cloth wrapped around will do) ignoring the recesses and holes etc. as in the previous lesson. |
 |
Once the vinyl is fitted, run your finger along the line where it
overlaps the other decals. This will make the edge easy to see.
Now, carefully score the vinyl with a BRAND NEW blade. (using a new
blade means you don't need to press on and therefore wont mark the paint
below) Carefully peel off the excess vinyl, making sure you don't remove the other sticker at the same time. |
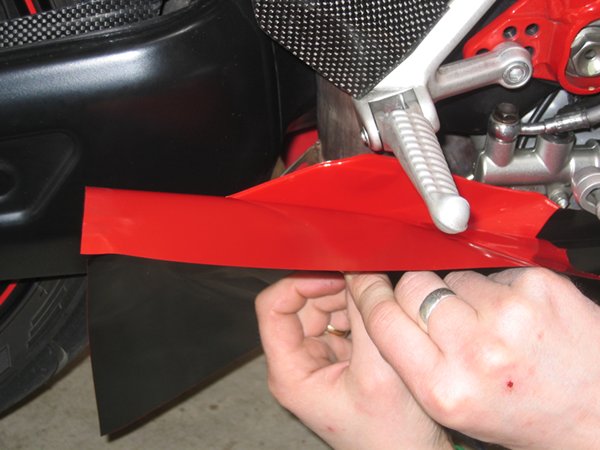 |
Now you can go back to the recessed parts and work on them. On the 999 it is necessary to make a cut and join in order to get the vinyl to drop into the section under the footpeg without creasing. |
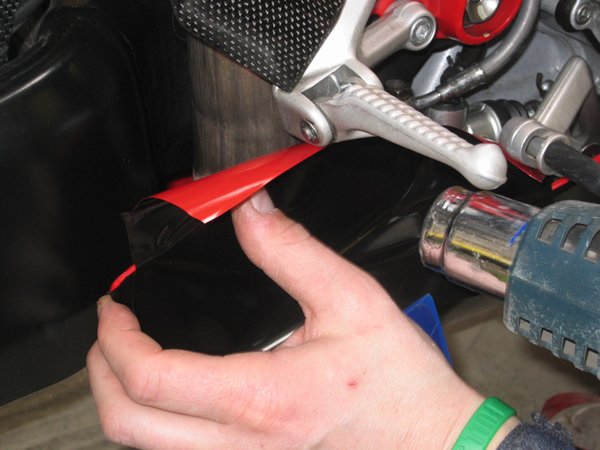 |
A bit of carefully applied heat will help you stretch the vinyl into place. If you get a crease, you can remove it by carefully pulling the creased part of the decal back off the panel and giving it a quick blast of heat and it will magically shrink back to a flat bit of vinyl. |
 |
Trim around the edge of the panel, again making sure you only score the
vinyl, not the paint below.
Job Done !! |
