
RDLC Tank fitting guide
Welcome to one of our "how to fit decals like a pro" pages. The RDLC tank is a notoriously tricky beast to fit decals to if you've not done one before (at the Image works we fit 2 or 3 of these kits a week). The side panels and tail are pretty simple and straight forward, so I'll not cover them here, but because of the rounded shape of the tank and the compound curve where the decal goes the tank is worth a few pointers from the pro's. I have heard of people fitting these decals using the "Wet Method" I would advise against this method for this particular decal as I find it causes more problems than it solves in this instance. This guide covers the standard design and the even more difficult Kenny Roberts design.
Before you start reading this guide, it's well worth reading our generic fitting guide first
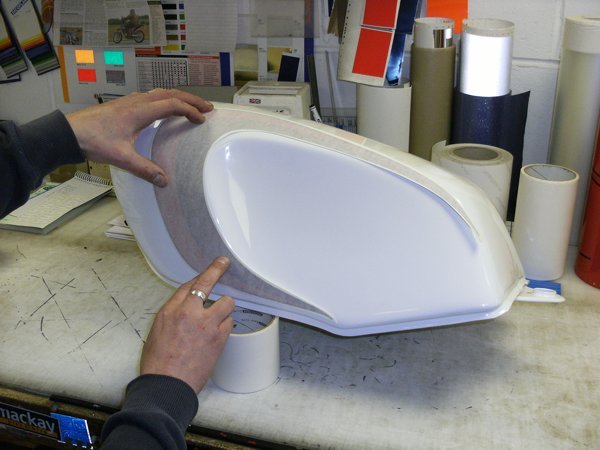 |
Before you remove the decal from it's backing paper, trim the backing close to the decal and offer it up to the tank. It sometimes helps if you use small bits of tape to hold the decal in place. Then using a pencil, make small marks on the tank every couple of inches around the edge of the application tape. These will help you to keep the decal in the right place once the business of fitting around the compound curve gets underway. It is also critical to ensure both decals are in the same place. On the LC the two top points are easily seen at the same time, so any misalignment will be obvious. There's no "you can't see both sides at the same time" here. Remember the 6 P's rule from the main fitting guide (Prior Preparation Prevents Pi$$ Poor Performance) |
 |
Remove the backing paper from the whole decal and gently lay it onto the tank using the pencil lines around the area at the front and bottom half of the tank as a guide (don't worry too much about the top half of the decal at this stage, so long as it's left more or less flat and not pressed down yet) |
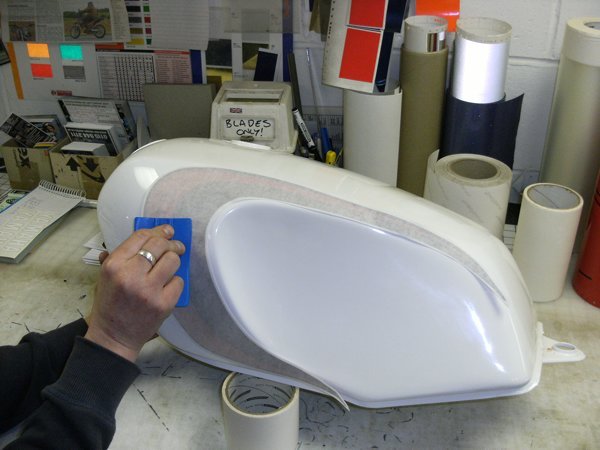 |
Using a squeegee, work from the centre of the
decal and fit a strip about 25-30mm wide, ignoring the edges of the
decal. Work from the area shown in the picture, downwards and outwards |
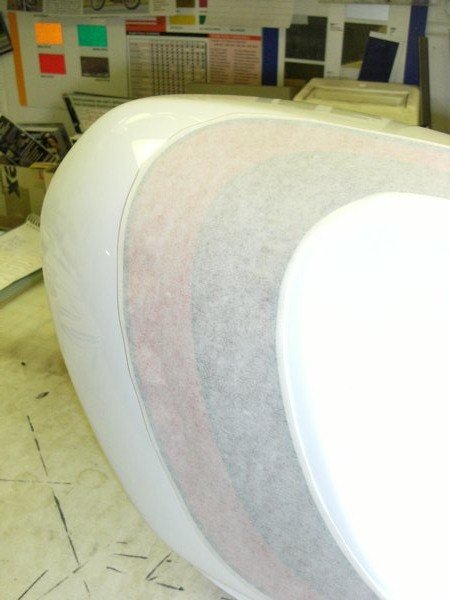 |
Your decal should now look something like this. Now carefully lift the top part of the decal off the tank and re-position it, so it lines up with your pencil marks. Then repeat section 3, this time working on the top half of the decal |
 |
You should now have something like this. |
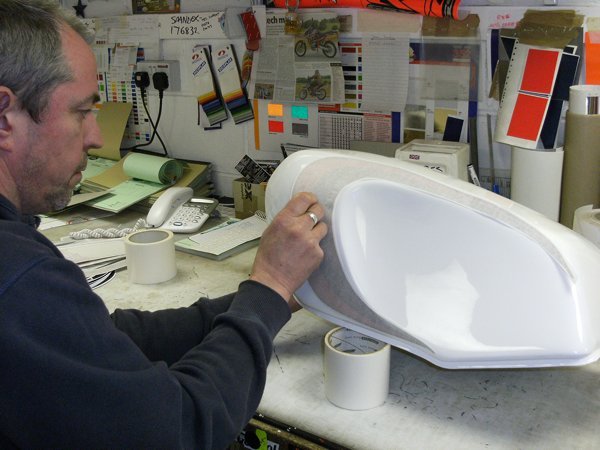 |
Now the majority of the decal is fitted in the
correct place, we can go back and work on those edges. Work your
way progressively up and down the decal, slowly widening the fitted
strip up the centre. The idea here is to "share out" the stress on
the vinyl along the whole length of the decal, and not just push all the
excess to one end as this would cause creases. It may be necessary to remove the application tape before you have finished this process so you can more easily see what is required. If you do, be careful not to mark the decal. Make sure there are no shape edges on your squeegee that can scratch the decal |
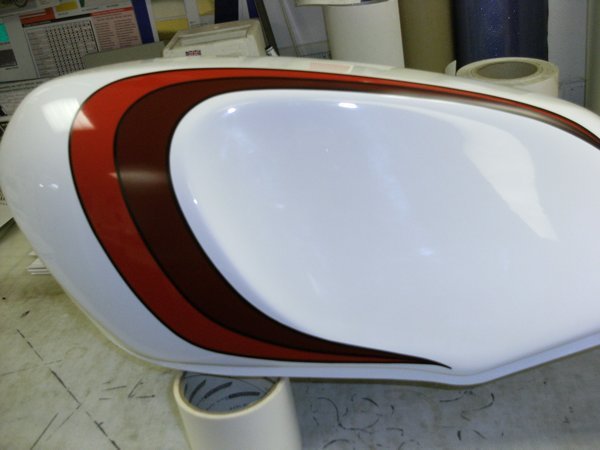 |
Congratulations, you've just fitted one side of your LC tank, now for the tricky part. Getting the other side in the same place. The golden rule is to take your time marking out, once you're committed to fitting, it's too late to realise you're half an inch out compared to the opposite side. Yet again the 6 P's !!!!! |
As I have said and shown, this tank kit is not easy to fit (we rate it about 8 out of 10 on the difficulty scale) especially if you are a novice. If you are unsure about anything ring us BEFORE you start fitting, if it all looks a bit daunting, ask about our fitting service, it's not expensive and is much cheaper than replacing a load of ruined decals.
Kenny Roberts "Speed Block" Design tank
Well, if the standard LC tank is an 8/10 for difficulty, this one has to be a Spinal Tap like 11/10. It's probably as hard a decal to fit as there is. If you still fancy a crack at it, read on. If not call us on 0115 944 3111 to ask about our fitting service.
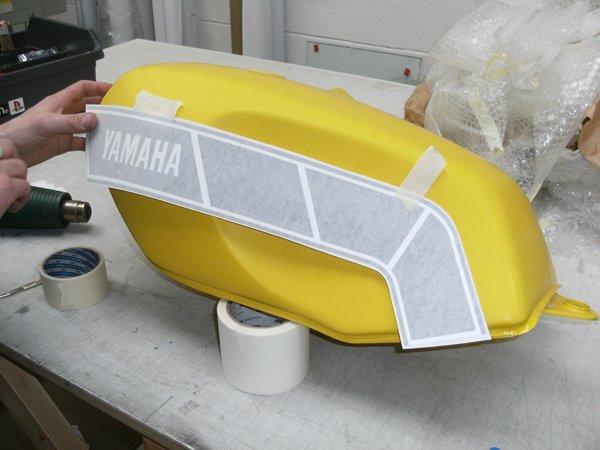 |
A useful tip when fitting the Kenny Roberts
kit is to fit the tank before you fit the side panel decals.
It's much easier to adjust the position of the side panels to make
sure they line up with the tank than to try to adjust the tank
decal. The basic method is fairly similar to the standard LC decals. Start of with tape and a pencil to mark the position. As a guide, the white stripe at the edge of the block with YAMAHA written on should line up with the curve of the tank recess as in the picture. |
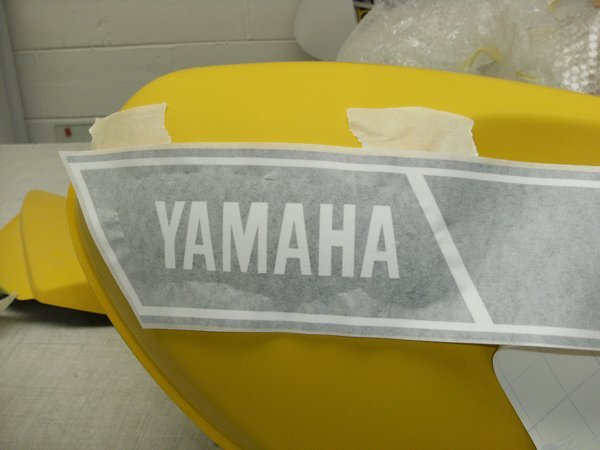 |
Peel back the backing from the front speed block only and realign it with your pencil marks. As with the standard decal, ignore the edges and the front end for the time being, we'll worry about them later. Fit the central part of the decal, more or less the same size as the YAMAHA text and work you way backwards towards the contour of the tank. |
 |
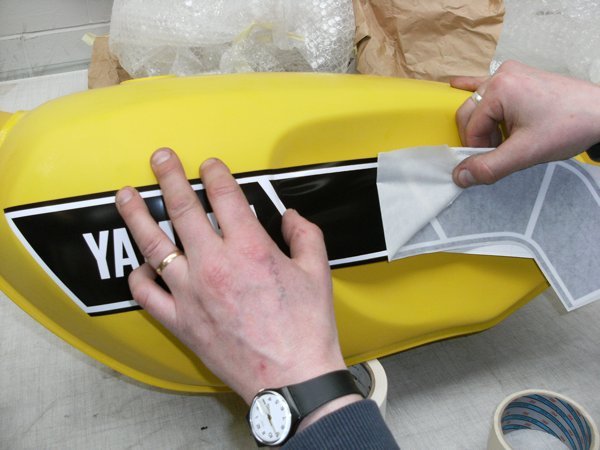
Carefully remove the application tape from the front speed block only. |
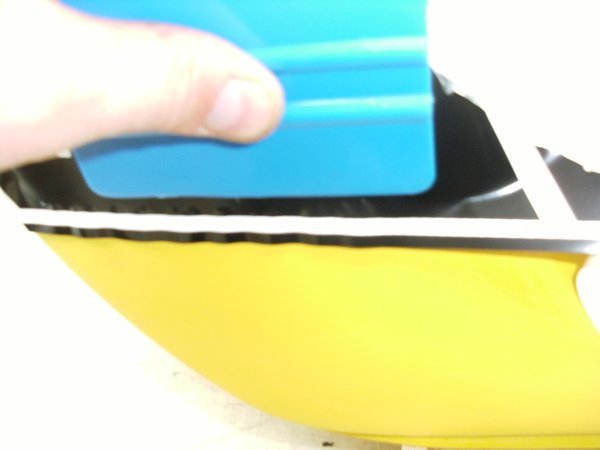 |
Now gently work your way towards the edges, as before try to share out the excess vinyl along the whole edge, not all at once as in the picture. |
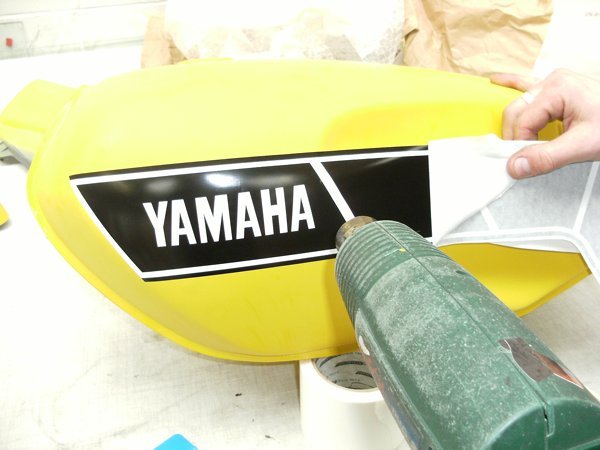 |
Now the fun starts ! Using a hot air gun WITH GREAT CARE apply a small amount of heat to the vinyl above the tank contour. Be VERY careful not to pull on the decal as this will stretch it. |
 |
Now, using your thumb, work up and down the decal. Slowly (about 1 or 2mm at a time) work the vinyl along, then over the contour. Keep gently warming the vinyl to keep it soft and pliable. Keep going, 1mm at a time until you have passed the contour and are back onto the flatter part of the tank. That's the hard part dealt with. |
 |
If you've got this far, you don't really need my help from now on. Simply apply the rest of the decal as normal, then have a cup of tea before tacking the other side. |